This shop has been compensated by Collective Bias, Inc. and its advertiser. All opinions are mine alone. #MNYLooksToLove #CollectiveBias
Got Valentine’s Day plans? You know I’m always planning my V-Day look months ahead of time, of course. I’ve usually got a red dress or two on standby for that particular date night. And a few bags and pairs of shoes to choose from too. But what about the makeup? I often just go with a quick red lip in the spirit of the holiday. But this year I’ll be amping it up a little more.
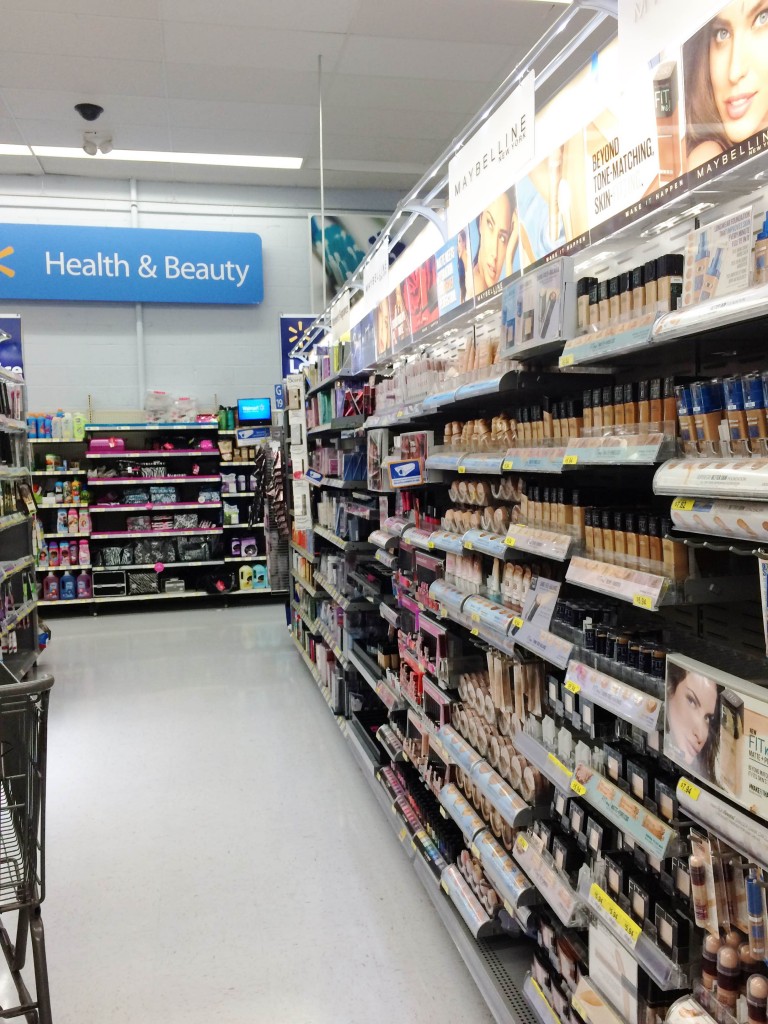
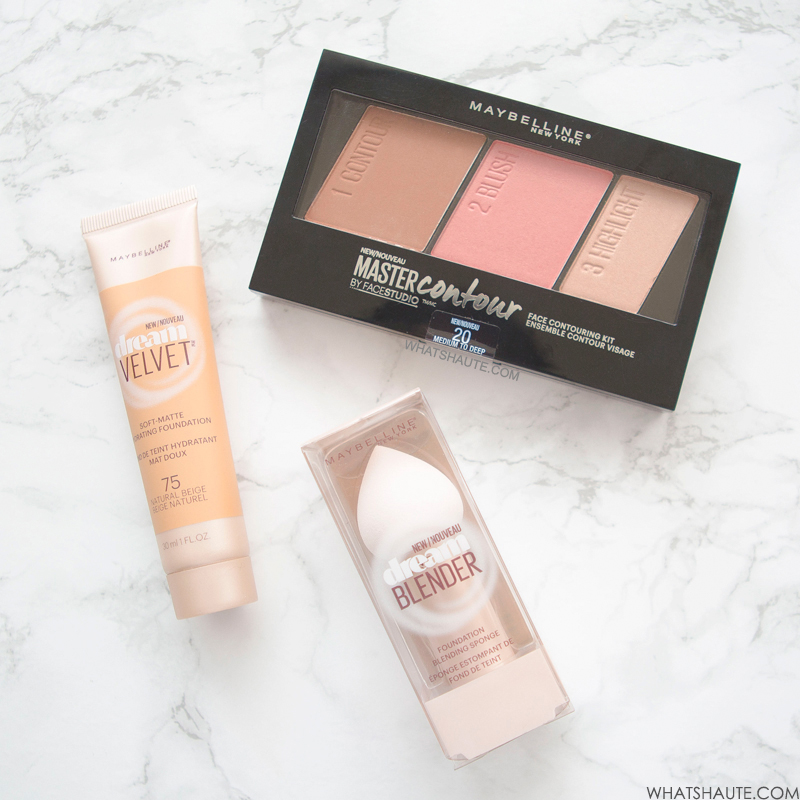
Over the past few years, I’ve developed a bit of a makeup habit, so I love finding pro-quality, affordable cosmetics! I was invited to create a Valentine’s Day ‘looks to love’ beauty tutorial featuring Maybelline’s Master Contour Palette, Dream Velvet Foundation and Dream Velvet Blender. So I picked up the trio of products for a great price at Walmart, right in the Maybelline aisle in the Health & Beauty department. I was excited to get home and try them all out! I especially couldn’t wait to test out the Master Contour Palette. Contouring has been a huge beauty trend over the past few years, and there’s a zillion tutorials on it but this palette makes it easy to do in three simple steps. But I’ll get back to that in a bit.
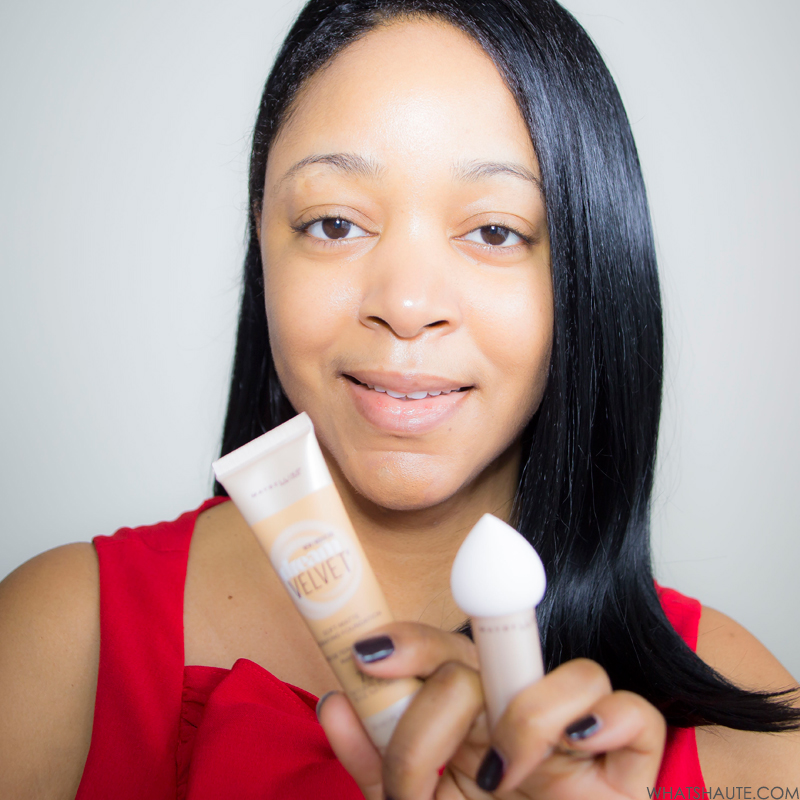
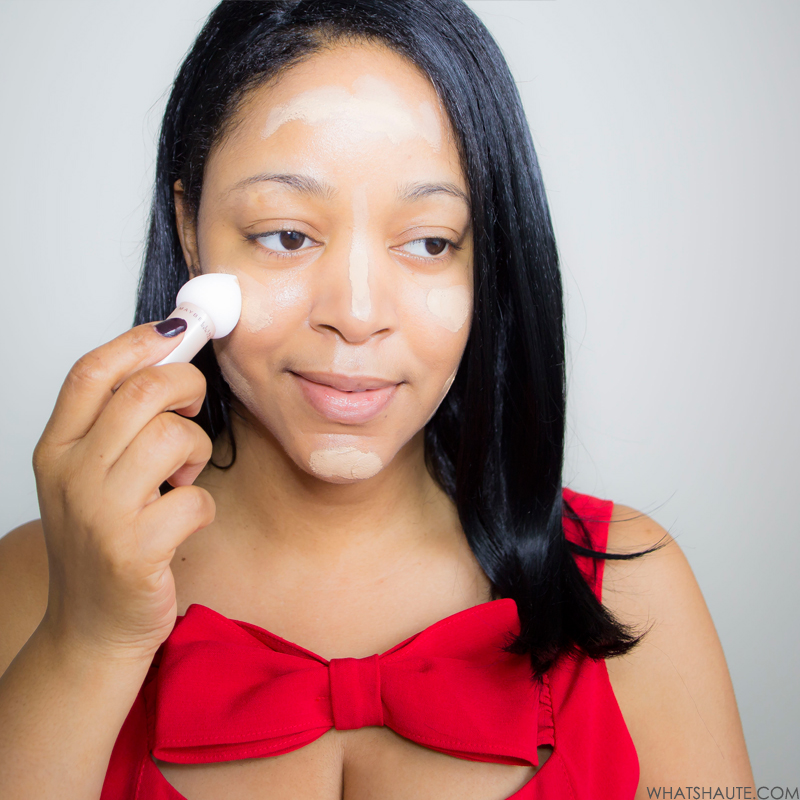
So before I started trying out the products, I first prepped by doing my daily routine: cleansing my face with my daily face wash, moisturizing with a facial lotion with SPF 30, then putting on a light, sheer BB Cream. Then, I was ready to get started. The Maybelline Dream Velvet Foundation is a light, gel-whipped foundation that goes on with a smooth, matte (but not drying) finish. Applying the foundation was easy, but much simpler using the Dream Velvet Blender. It’s a smooth, curved sponge that allows you to easily apply foundation for flawless coverage. I just squeezed a bit of the Dream Velvet Foundation (I bought Natural Beige color #75) on the Dream Velvet Blender and dotted it all over my face, then fully blending it in. The pointed tip made it much easier to apply foundation around and under my eyes. It would also be great for adding concealer to specific areas of the face, if you needed to.
Once the foundation application was complete, it was time to start the contouring! I’ve seen many tutorials; plus there’s a quick ‘how-to’ on the bottom of this pro palette. But, I decided to just wing it and try my own take on it! As I mentioned, the Master Contour Palette (I bought Medium to Deep #20) features three colored shades, and is divided into three steps to make it easy for us contouring novices:
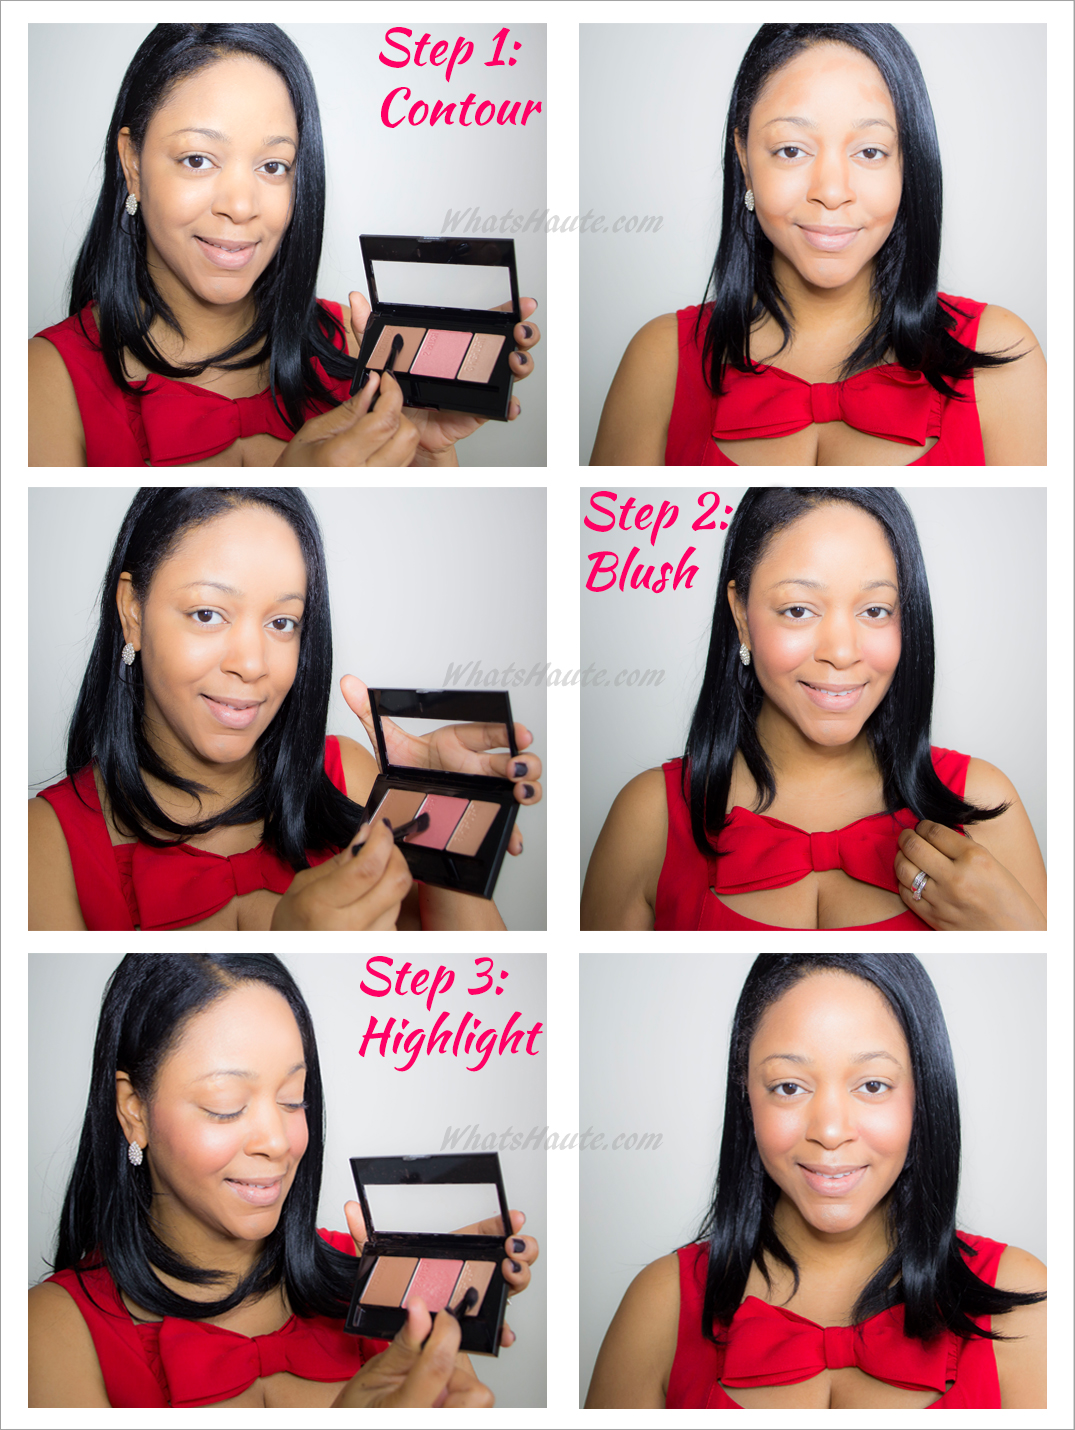
Step 1 is ‘Contour’
I used the included brush to sweep on the contouring powder from the corners of my lips up to my cheekbones, and in the ‘T zone’. For a stronger look, of course you can add more powder throughout, but I kept it on the simpler side. I used a bigger brush to fully blend in the powder.
Step 2 is ‘Blush’
I always love a good blush, especially one that looks like a natural flush. This color was the perfect shade of coral and pink, with flecks of gold to give your cheeks a sun-kissed look. I first cleaned the brush on a napkin to remove the darker brown powder from Step 1, then used it to apply the blush to the apples of my cheeks, and also above the contour lines along my cheekbones. Again, you can apply as much or as little as you like, but for me, less is more.
Step 3 is ‘Highlight’
The final step in the palette was to add a touch of highlighter to give your skin that ‘glow’. I love adding highlighter but you’ve really got to go easy with it. A little goes a LOOONG way. Again, I cleaned the brush first. Then I applied a touch of highlighting powder to my cheeks, forehead, the tip of my nose, right above my “Cupid’s bow” and my chin.
To complete my Valentine’s Day ‘looks to love’ makeup look, I touched up my brows, added some eyeshadow and eyeliner, and of course, a festive red lip!
What do you think of my beauty look? Will you try out this easy-to-use contouring kit for your Valentine’s Day “looks to love”?

Leave a Reply